Any company providing Marketing, Communications, or Digital services to healthcare organizations may join the MarTech.Health Vendor Directory. To ensure quality, we include vendors who have worked with three or more healthcare clients.
Vendors can choose from two profile levels:
Renewals to annual accounts may be canceled, but unused portions of the current annual contract are non-refundable. You'll be able to use your account until the paid period expires.
The review process begins when a General User or Vendor visits your profile and clicks on "Write a Review."

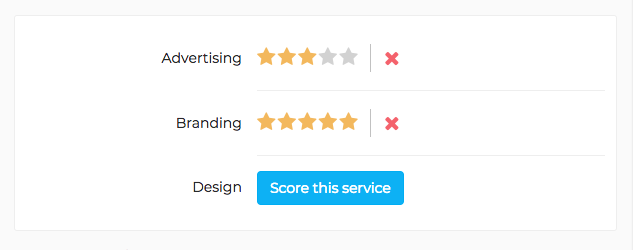
Service categories you select (e.g. Advertising, Branding, and Design) become available for users to score. Reviewers are not required to score every service.
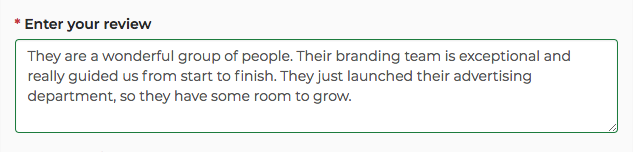
Reviewers are required to write a review between 15 and 999 characters.
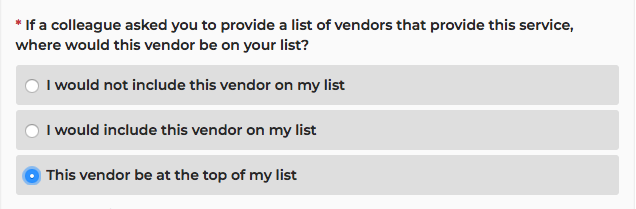
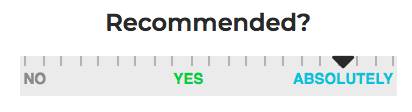
The reviewer must select one of three recommendation choices.
Once you’ve received three reviews, your recommendation score will appear on your public profile.
After the user hits the "Submit" button:
You’ll receive an email about a review being reviewed by MarTech.Health administrators.
An admin will ensure the review meets our standards before publishing.
Once the review is approved, you’ll be notified via email and the review will become visible in your admin area and on your public profile.
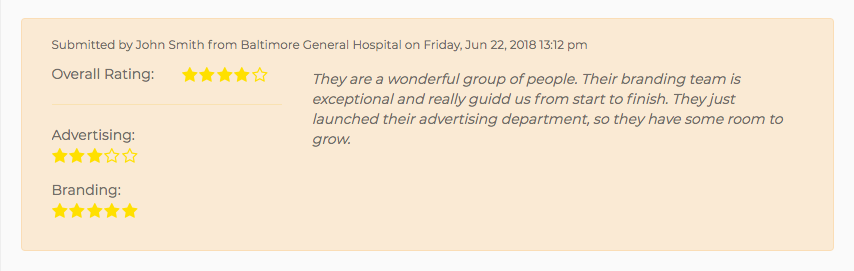
Once you get your first review, a “Reviews” tab will appear on your public profile with the most recent review at the top.
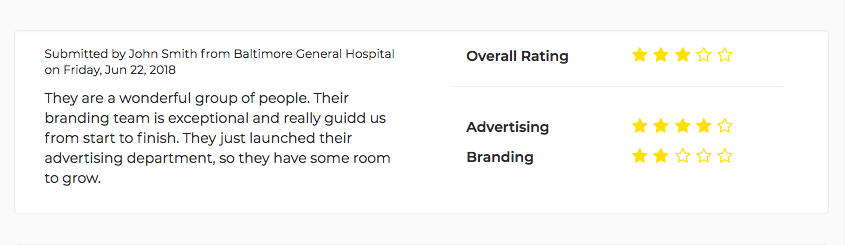
Reviewers who want to remain anonymous will have their organization type noted.
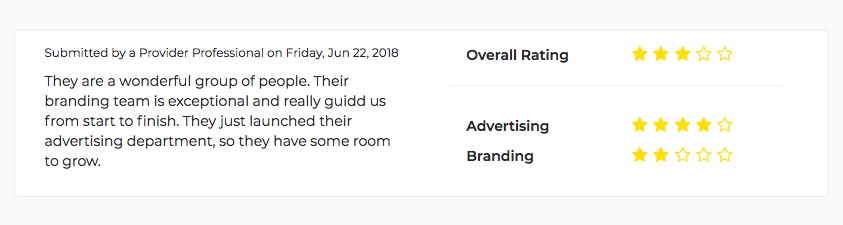
Below that, you’ll see their review. To the right, you’ll see an overall rating calculated by averaging the ratings for your services. Below that, you’ll see the ratings for each service.
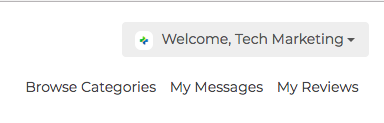
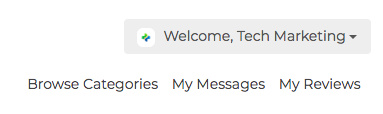
Once logged in, a quick link at the top of the page appears under your username to “My Reviews."
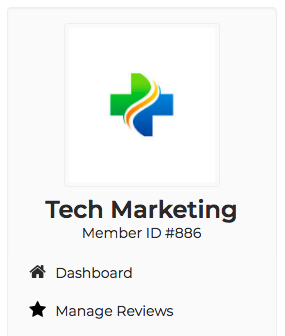
You can also access it from your admin panel under “Manage Reviews."
The most current review will be at the top.
Reviews with a light orange background are pending admin approval.
Approved reviews have a white background and you’ll be able to write a public reply.

You’ll see the name of the reviewer and their organization for each review. You’ll see if they’ve requested anonymity. Next, you’ll see your overall rating and breakdown for each service. To the right, you’ll see their review. You’ll be able to reply in the box provided. You may only leave one reply per review and edit as needed.
Remember, you’ll always see their name and organization name in your admin panel, so do not post any personal information in your reply if the review is anonymous.
If you're searching within a service, then then the default sort order is:
If you're searching via the search box, then the default sort order is:
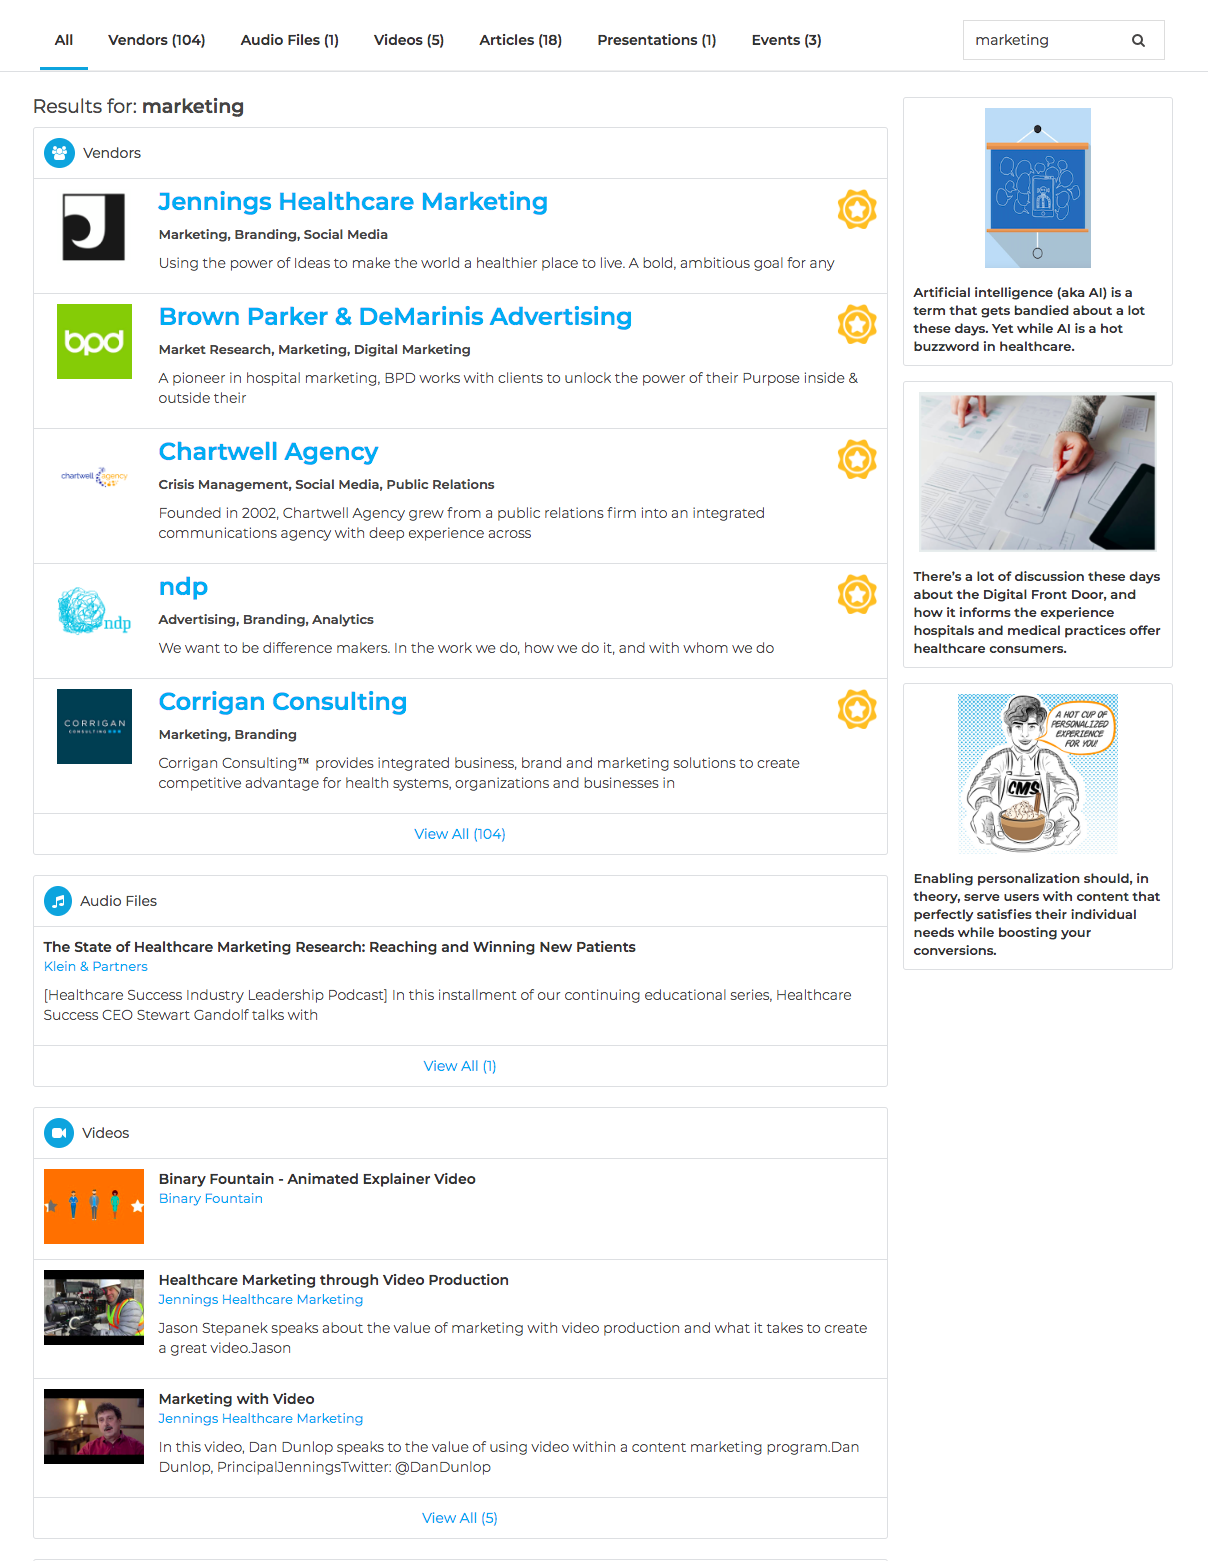
Typing a phrase into the search box not only searches vendors, but also displays results for their videos, podcasts, presentations, articles, and events.
The default view displays the first five vendors and then the first three results in each category. The number of results for each category is listed in the navigation bar. Click any category to see what’s in each specific category.
In addition to a profile, Premium Vendors are encouraged to add searchable content such as videos, podcasts, presentations, articles, and event notifications.

Meta tags can be added so content appears in search results.
Your name (person managing the vendor profile):

Your organization's name:

The main number you want prospects to call:

Your work email - leads and messages will go to this email address:

Use the slider to assign the percentage of healthcare clients. There’s no right/wrong answer:

Your company website address:

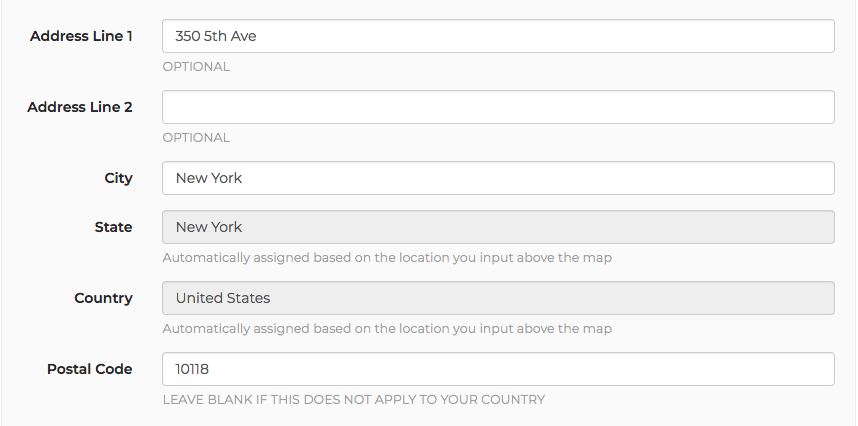
Your primary business address. Type in your address above the map and hit enter.
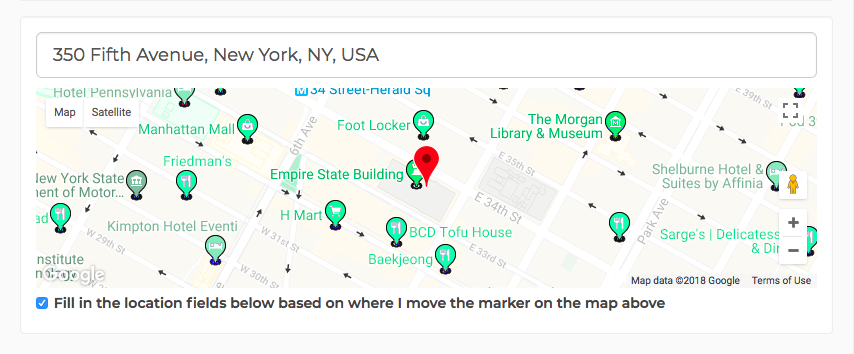
It will auto-populate the address fields below:
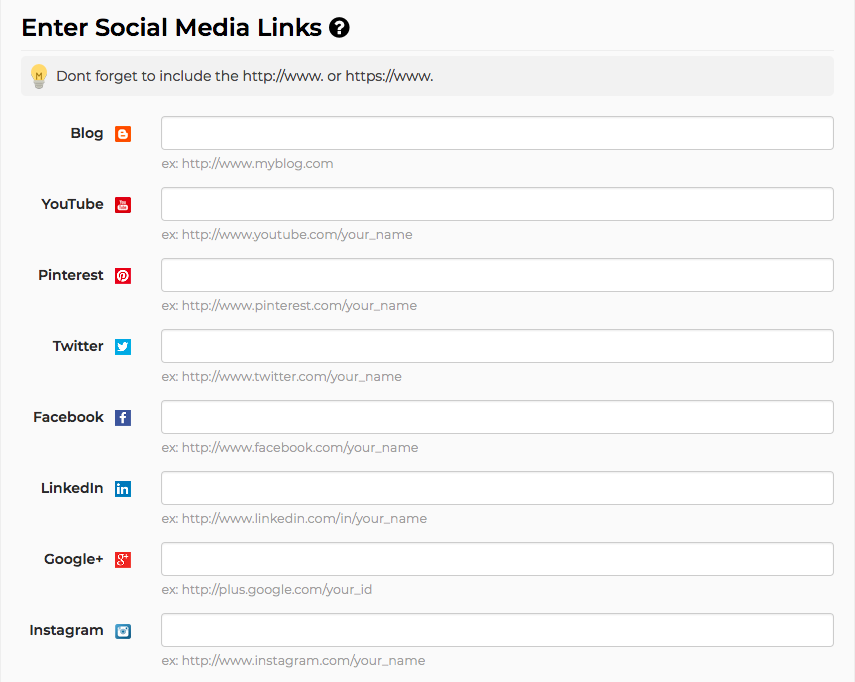
Premium Accounts: Your Twitter feed will appear in the sidebar of your profile.
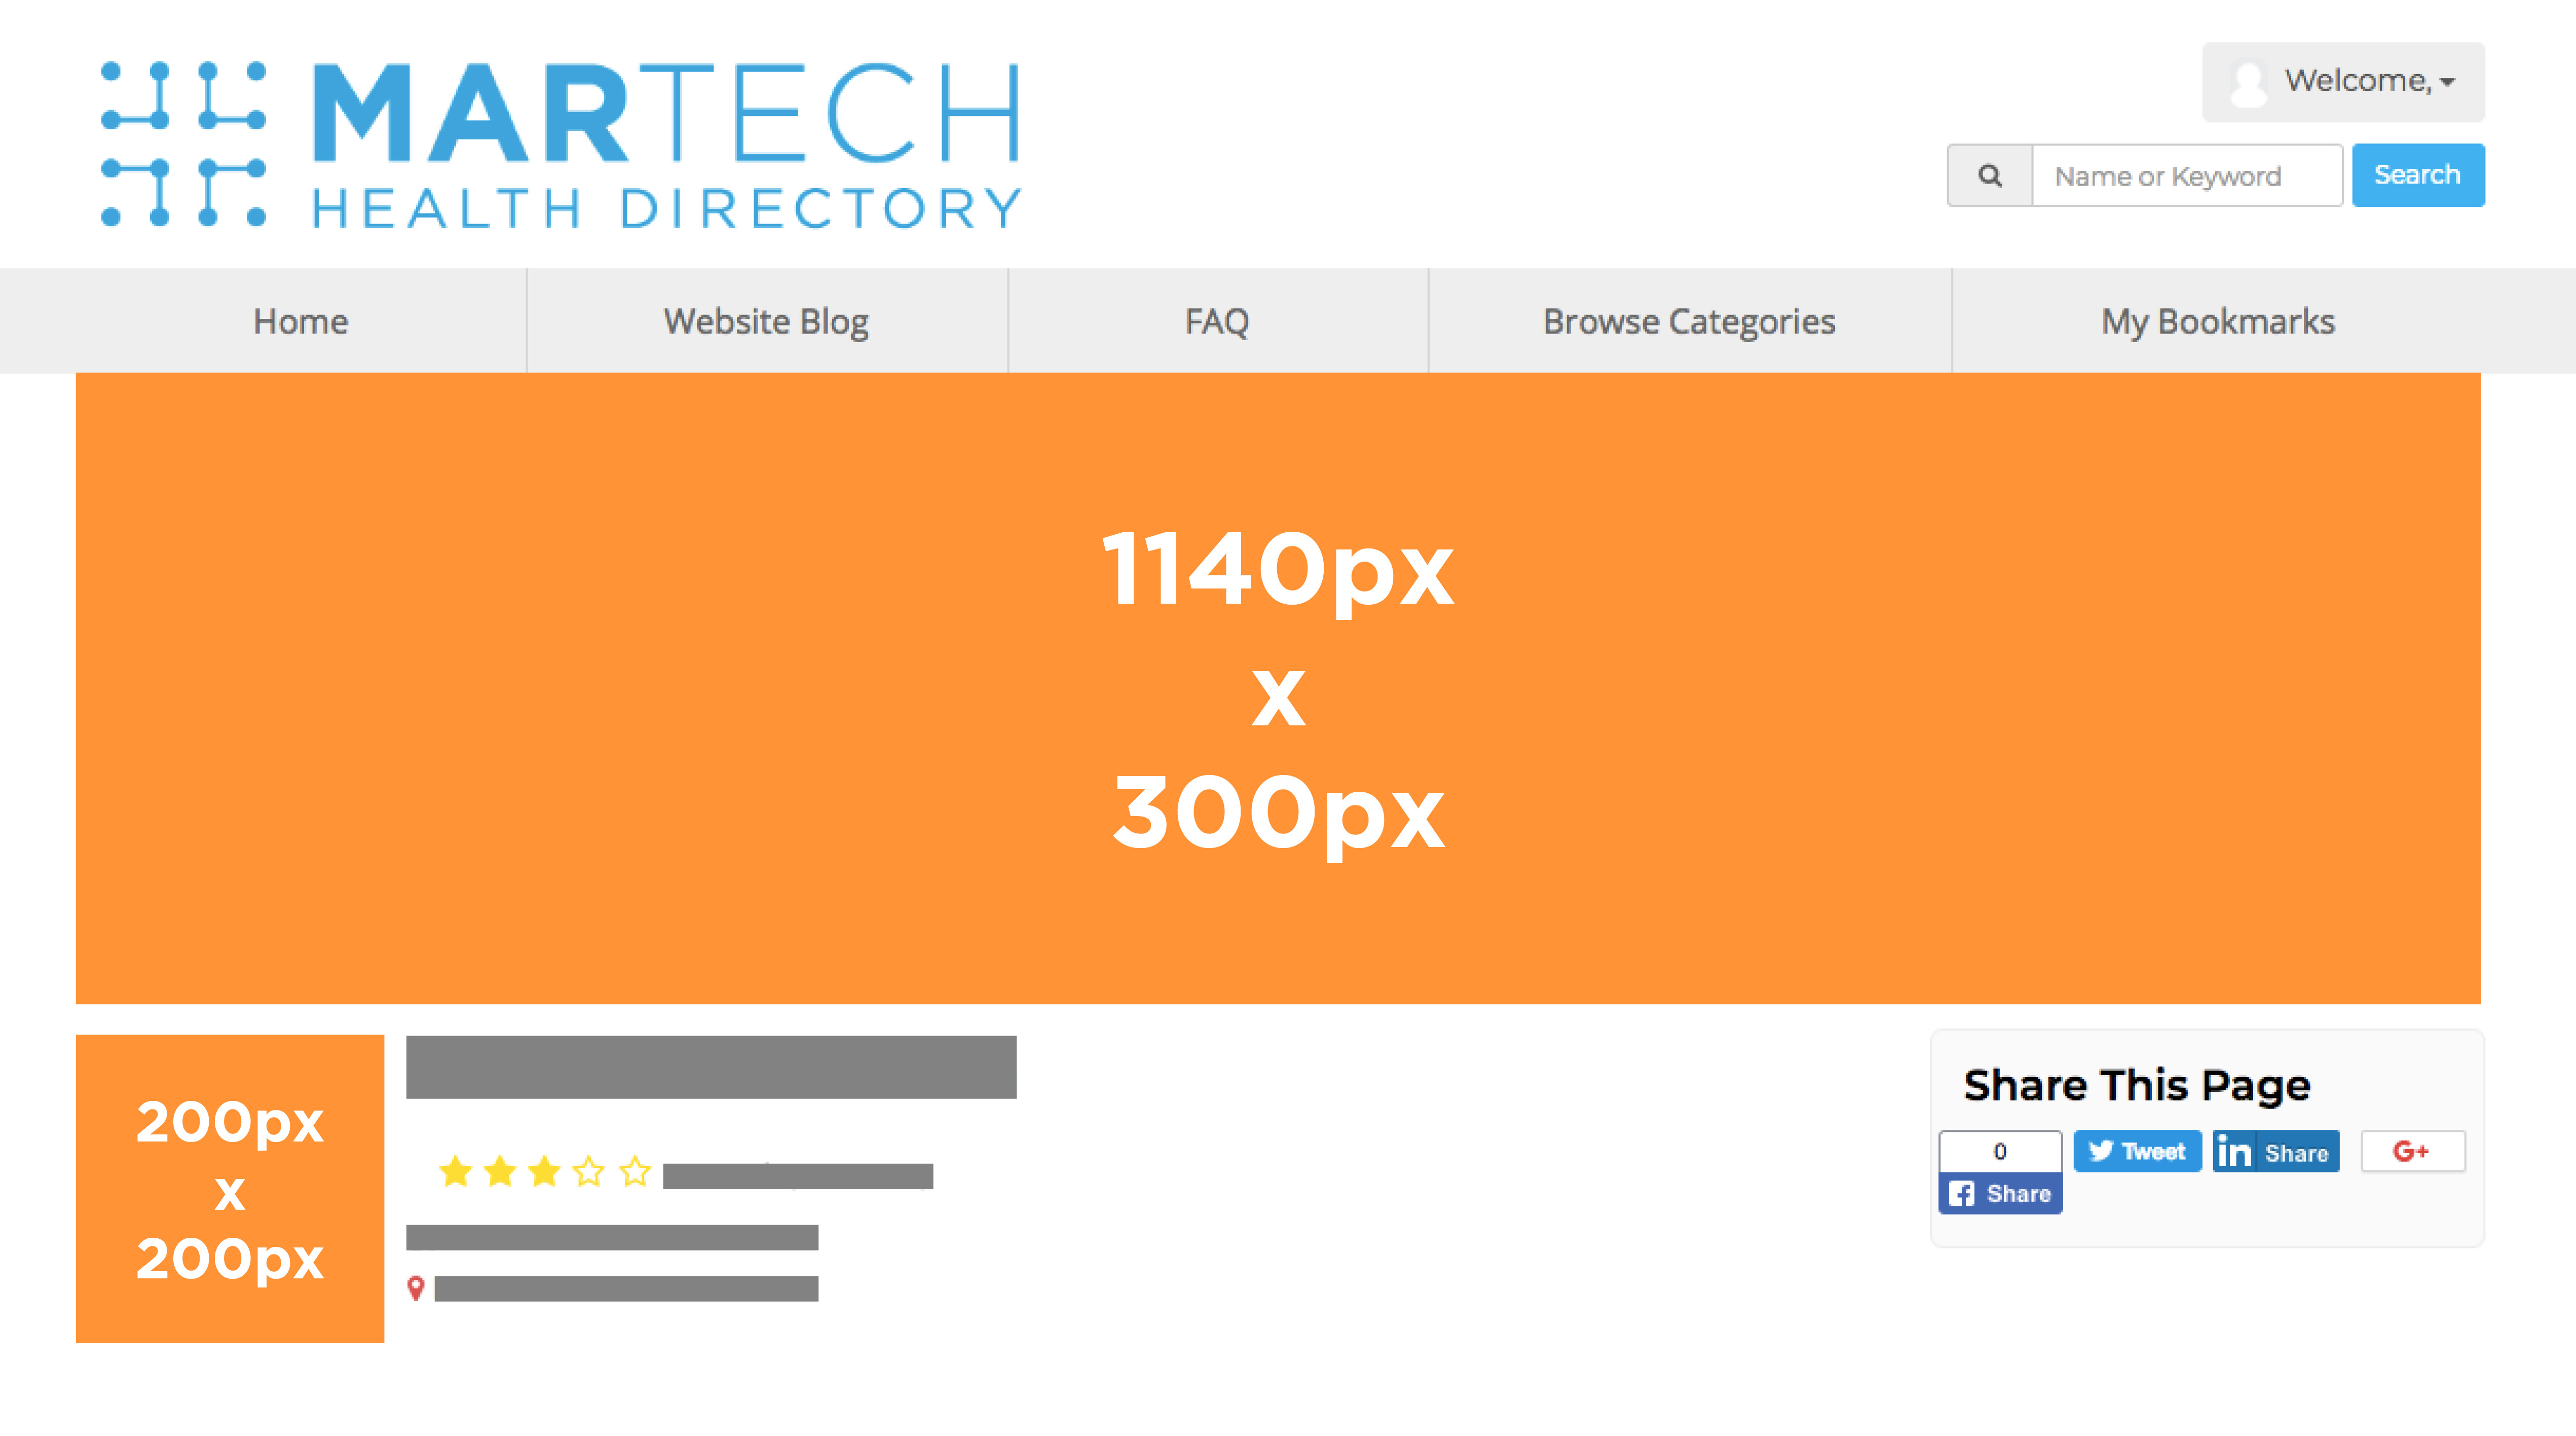
Select a profile header. Recommend size: 1140px x 300px
Optional.
Your personal photo will appear if you do not have a company logo. Recommended size : 200px x 200px.
Your company logo, which will appear publicly. Recommended size: 200px x 200px
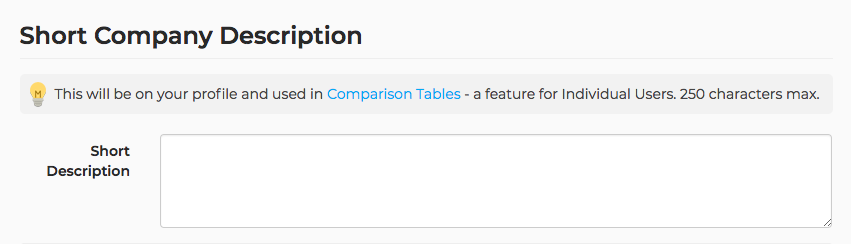
This text will appear in search results and on the user Vendor Compare Tool. 250 characters limit.
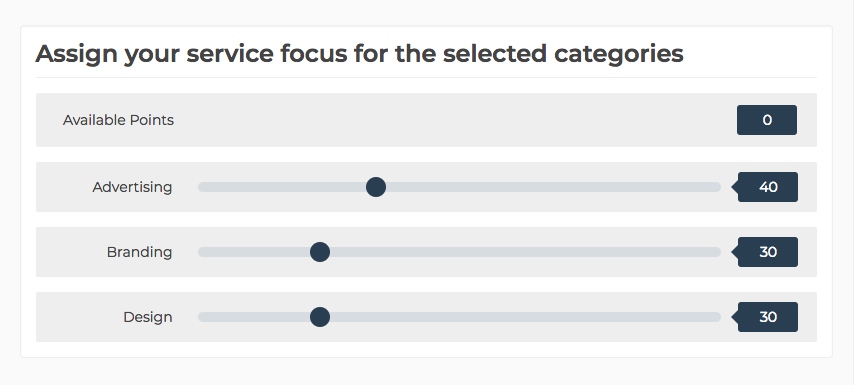
Your profile will appear in the categories you select.
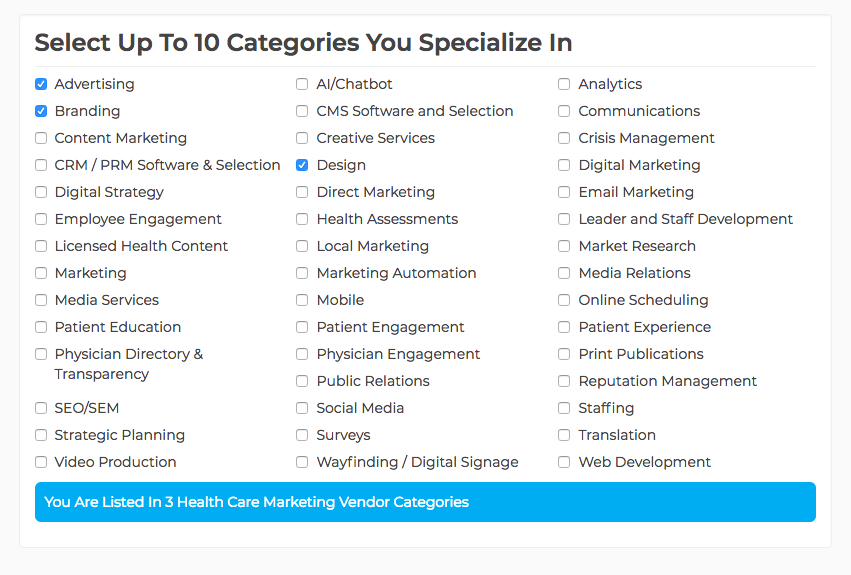
You have 100 points to distribute across the selected categories. The number of points influences default search results.

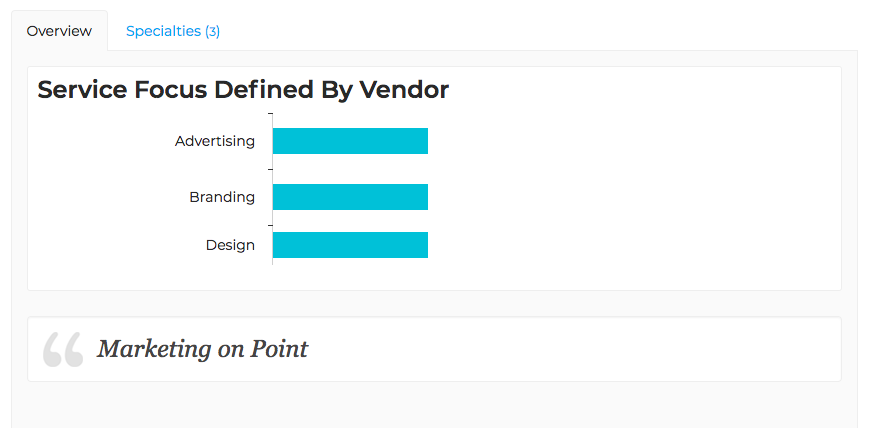
Tagline text appears on your public profile just below the Service Focus section and will stand out from the rest of the page.

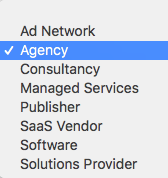
Select your organization type from the drop-down menu.
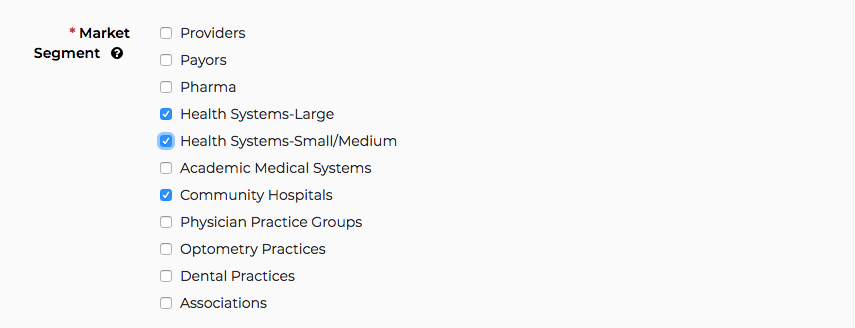
With which healthcare markets is your company experienced?
How many people work at your organization? 
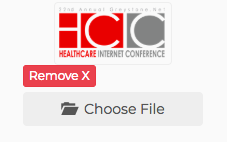
Upload an image or PDF to showcase your company.

List three of your organization's healthcare customers. These are included in the comparison tool and show the type of organizations you support.

This feature is enabled only for Premium accounts. You can use smart tags to add categories or descriptions that better fit your brand and identify your Vendor Profile when those phrases are searched.

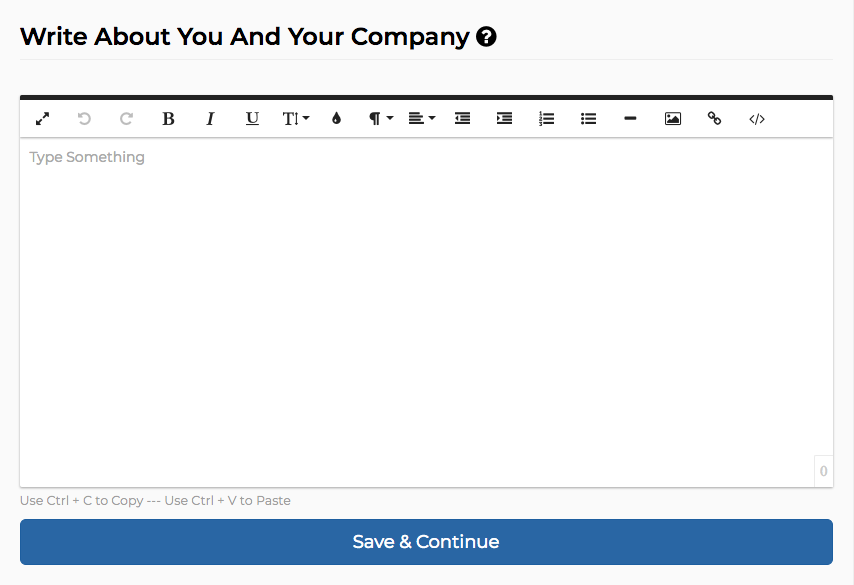
Use this area to tell customers about your company and provide details about your specialties.
You can add images by URL, in this section. You can also use the HTML view to customize your content and make it stand out.
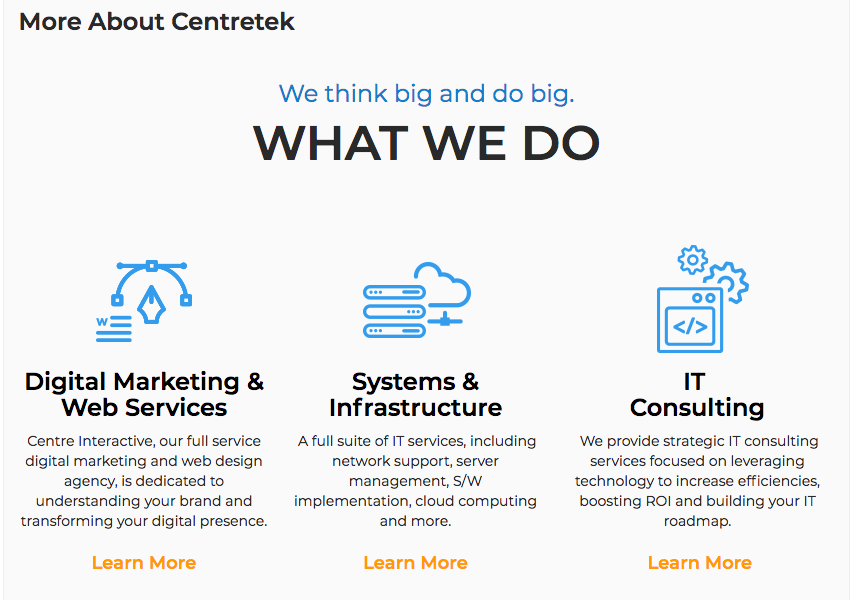
Here’s a customized “About” section that pops:
Users can search for vendors based on location. You may enter up to five locations where you have offices or representatives.
Start by entering your address above the map and then hit the "Enter" key:
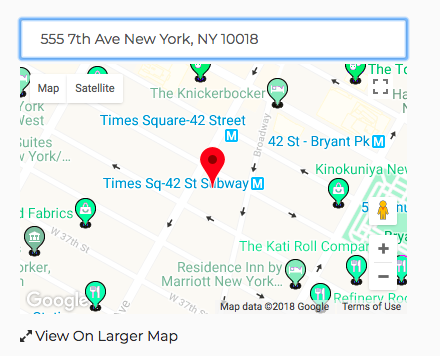
The address will populate the fields on the right and you may choose to add either the City or Zip Code. Hit the "Add +" button to add it:
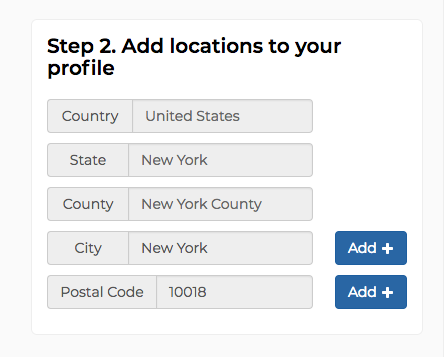
Your location will appear in the list below. Hit the "Delete" button to remove the location.
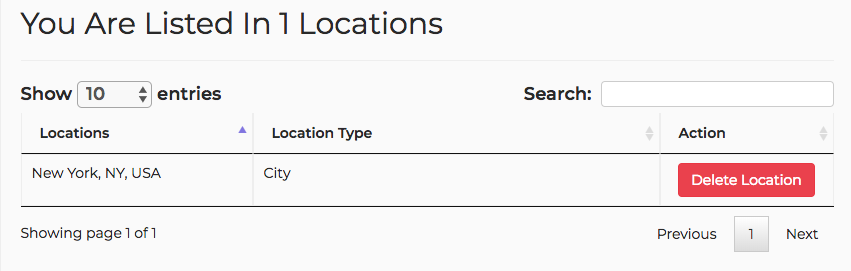
Repeat this process for up to four additional locations.
Select whether you want an article published on MarTech.Health. You can publish or un-publish an article at any time.

The title will display above the article, so do not add it again to the article content.

Add keywords searchable on the site. They’ll appear below every article.

Upload an image for the article. It will appear in search results as well as within the main body of the article.
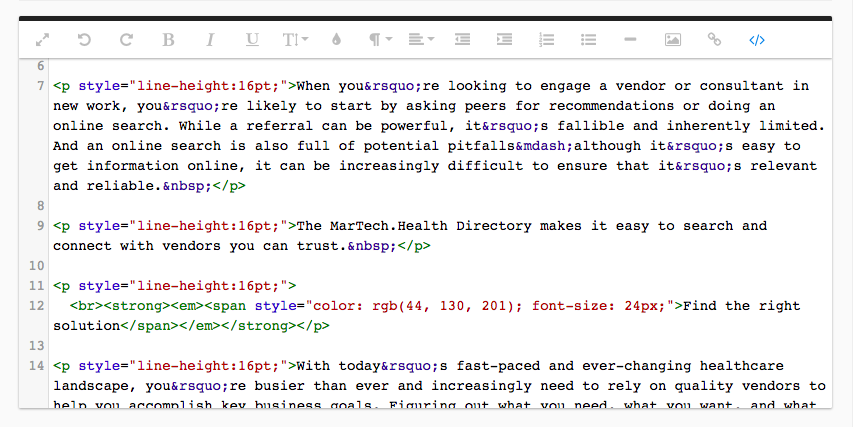
Add the content as well as images and links.
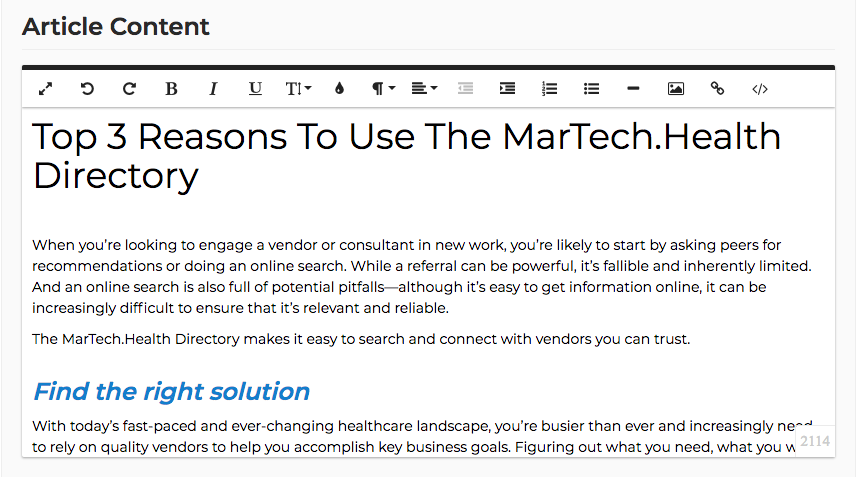
Editing in HTML mode allows you to customize the design.
If possible, provide a more concise version of the title.

Generate a brief but concise description of the article.

Add additional keywords to help the article appear in search results.

If this article was posted elsewhere or on your company website, enter the original URL here. Google will not penalize you for having duplicate content.

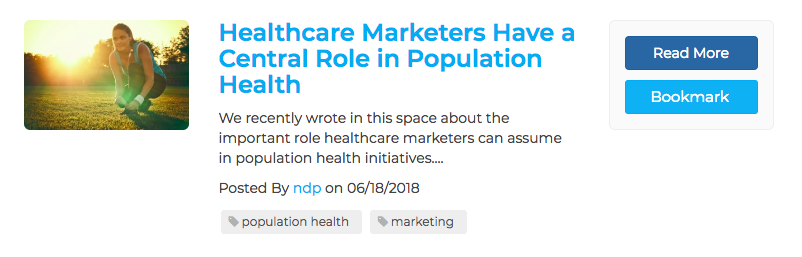
Here’s how articles appear in search results. The image, title, keywords, and first sentence are all visible:

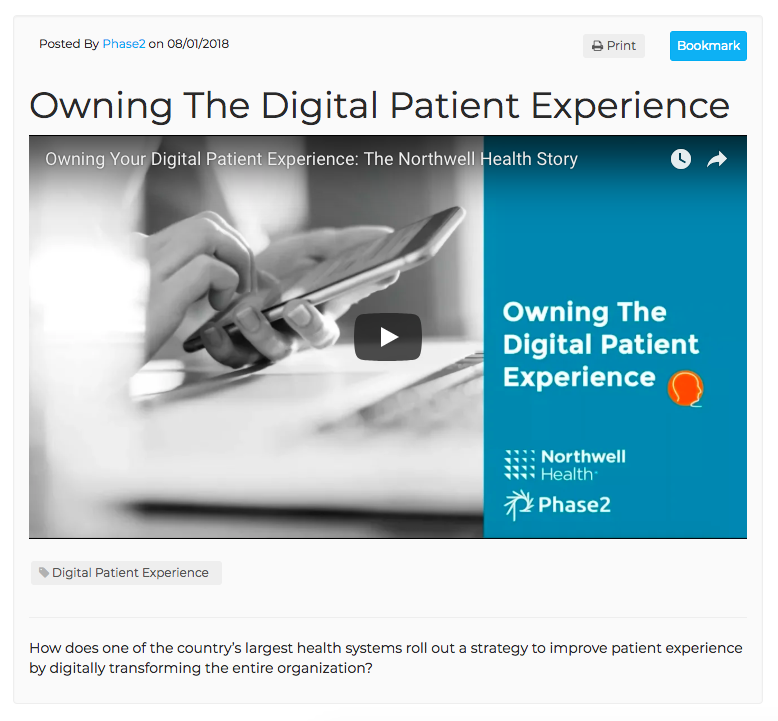
Once you've published the article, Here’s how it will display:
A canonical link or keywords will automatically display below the article.
Select whether you want the audio file published on MarTech.Health. You can publish or un-publish an audio file at any time.

The title will display above the audio file.

You can add audio files from Soundcloud and Stitcher.
To add an audio file from Soundcloud, select "Soundcloud."
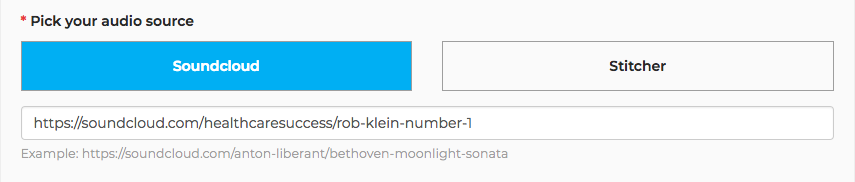
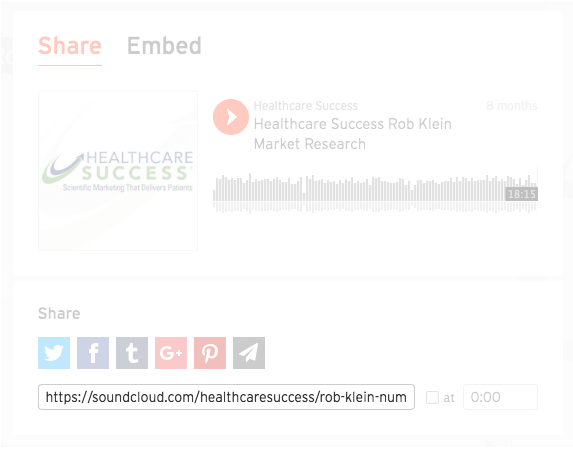
Next, enter the URL of the SoundCloud file. You can access this by navigating to the SoundCloud audio on the web. You can copy the URL at the top of your browser or click the "Share" button below the audio file.
If you click "Share," you’ll see a pop-up below which is the URL.
To add an audio file from Stitcher, select "Stitcher."
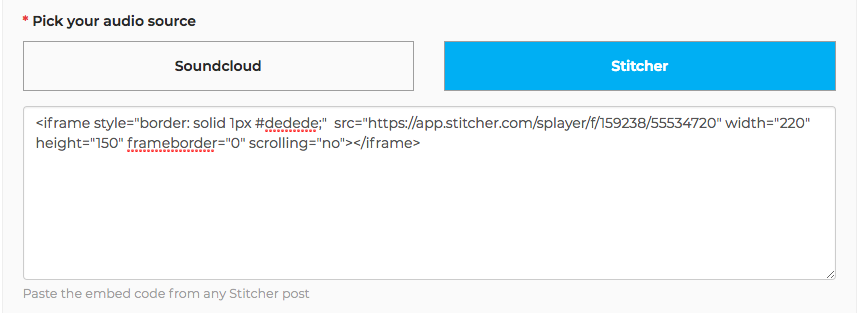
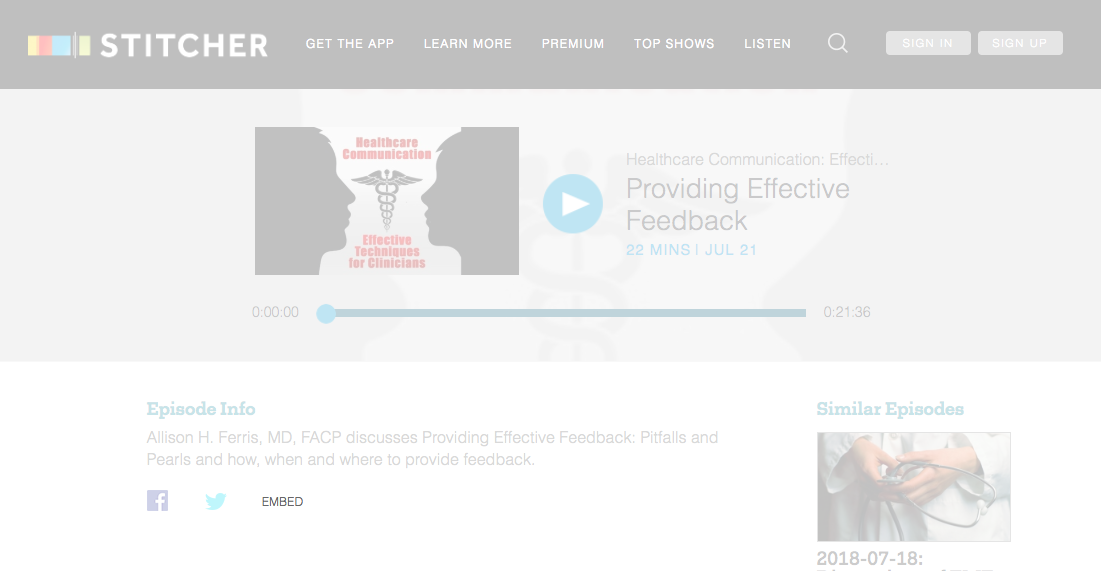
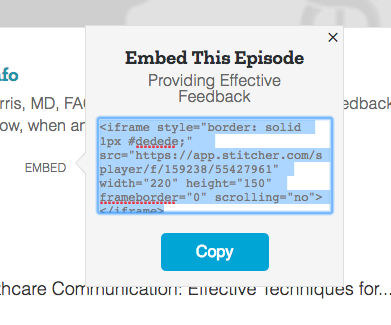
Next, enter the embed code of the Sticher file. You can access this by navigating to the Sticher audio on the web. Click the "EMBED" button below the description.
A pop-up will appear with an embed code to copy.
Add keywords searchable on the site. They’ll appear below every audio file.

Add a description of the audio file. You can add images and links. A transcript of the audio file is also common content.
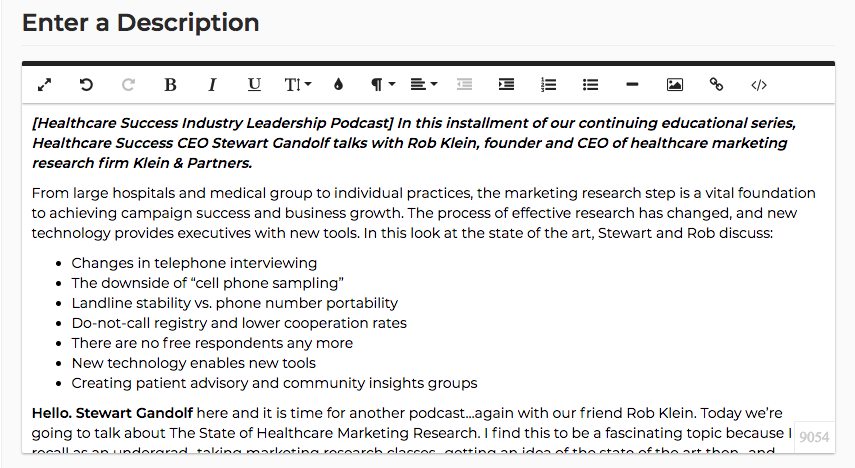
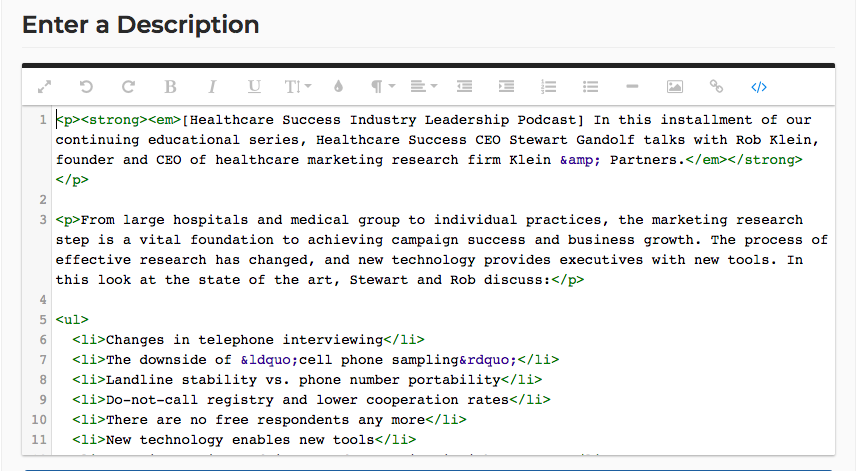
You can also edit in HTML mode to customize the design.
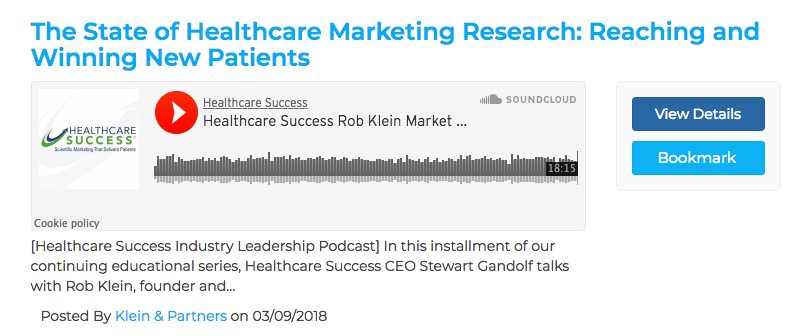
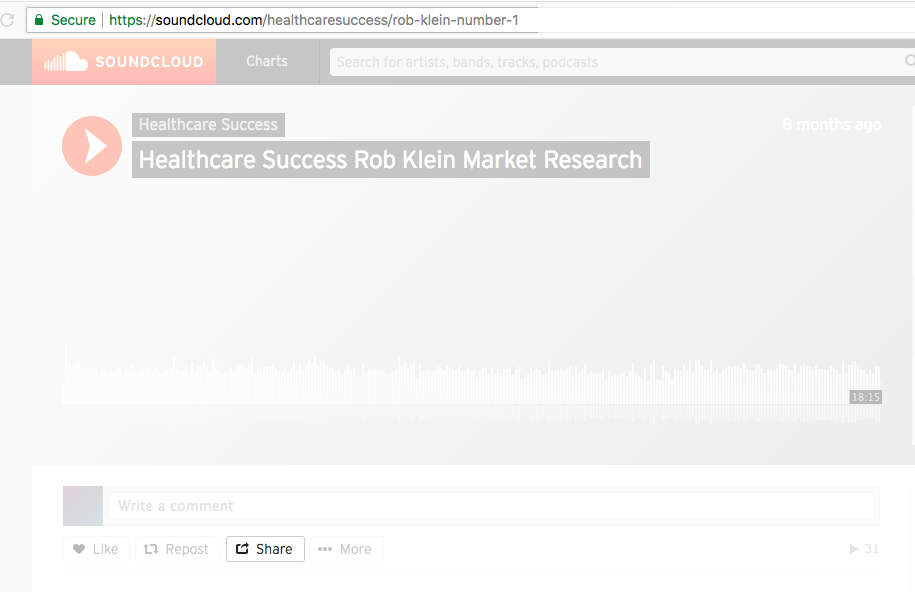
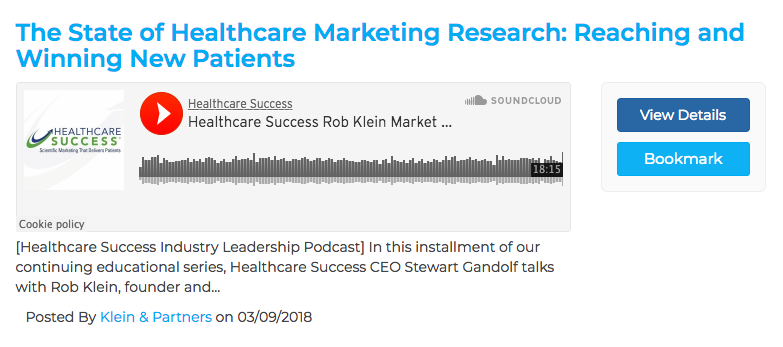
Here’s how audio files appear in search results. The title, audio file, keywords, and first few sentences of the description are visible:
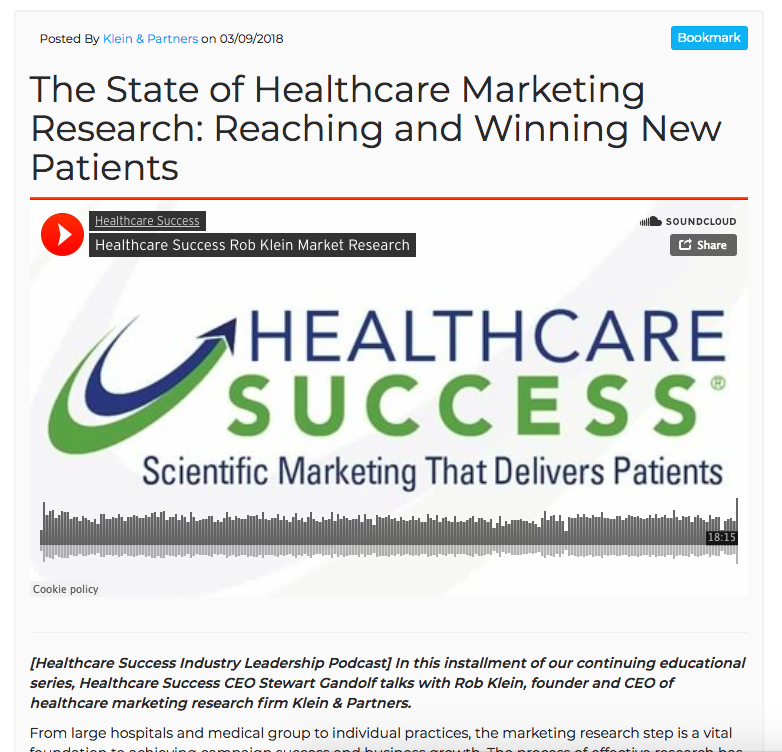
Once you've published the audio file, here’s how it will display:
Select whether you want the presentation published on MarTech.Health. You can publish or un-publish a presentation at any time.

The title will display above the Presentation.

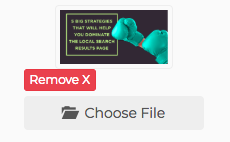
Upload a cover image for the Presentation. It will appear in search results.
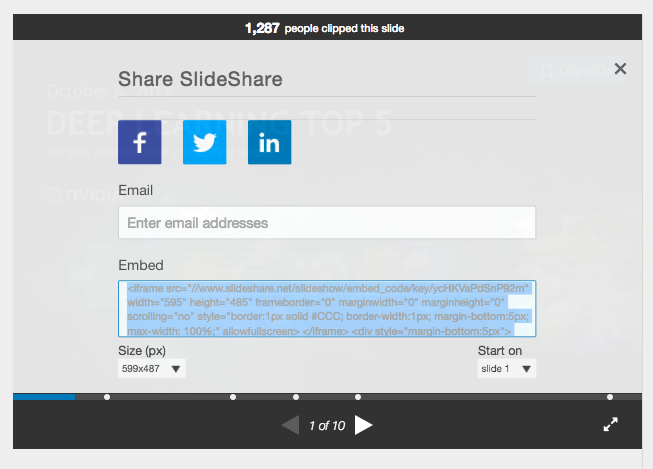
Paste the Slideshare embed code here.

To find the embed code, navigate to the presentation on Slideshare, and click the "Share" button below the presentation title.
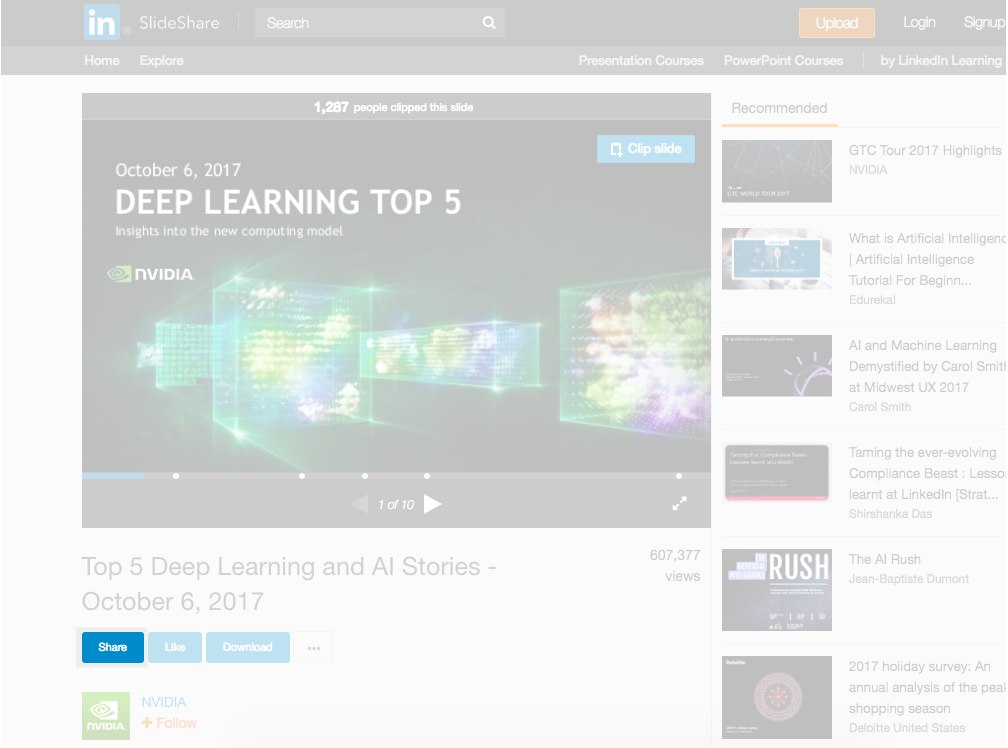
After clicking on "Share" the embed code will be available for you to copy.
Add keywords searchable on the site. They will appear below every presentation.

Add a description of the presentation. You can add images and links. Additional notes for each slide are also common content.
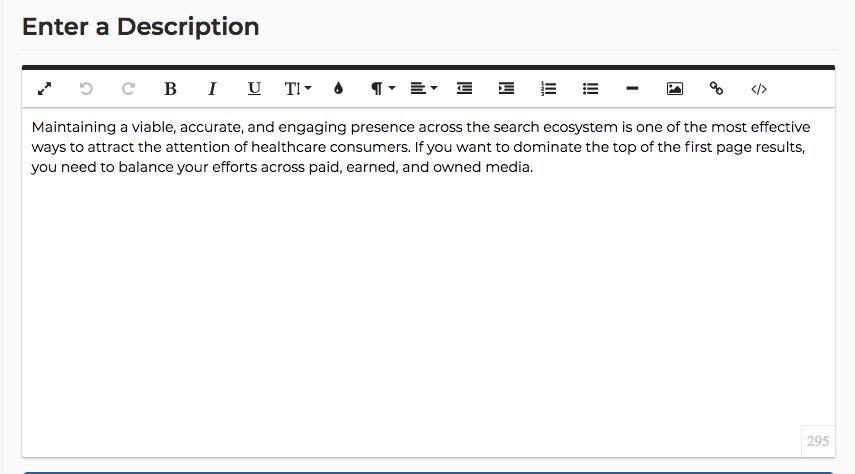
You can also edit in HTML mode, and customize the design design.

Here’s how presentations appear in search results. The title, cover photo, and first few sentences of the description are visible:
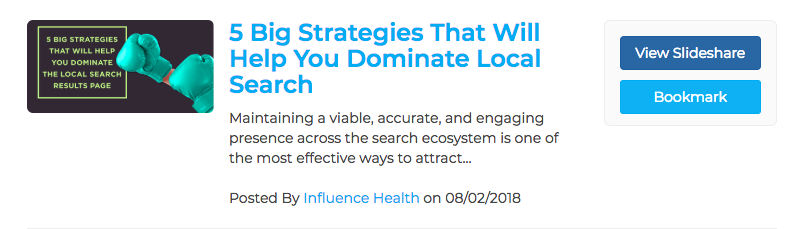
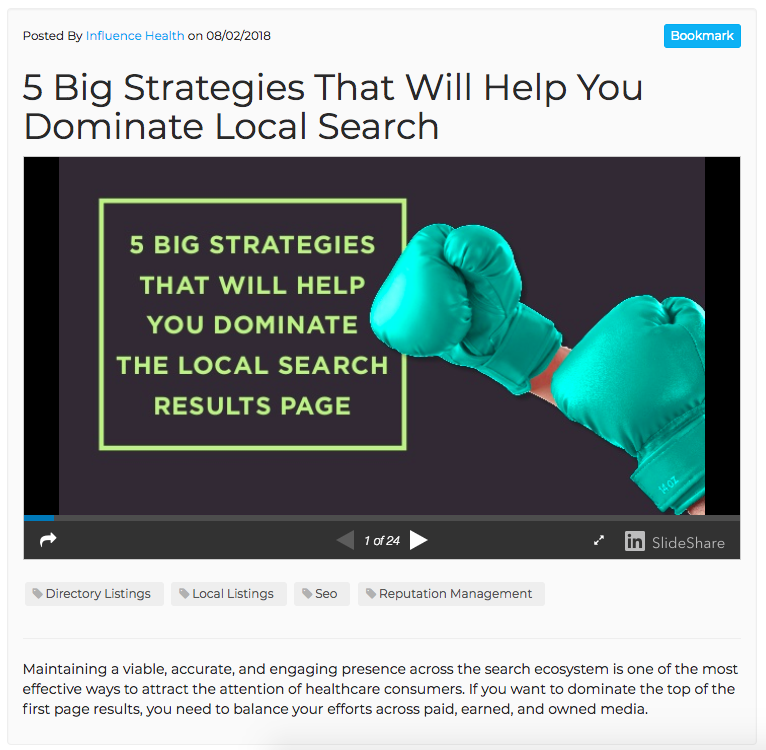
Once you've published the presentation, here’s how it will display:
Select whether you want the event published on MarTech.Health. You can publish or un-publish an event at any time.

Required field. The title will display above the Event.

Upload a cover image for the event. It will appear in search results.
Choose one of four repeat options:

Select the event start time (15-minute intervals).

Select the event end time (15-minute intervals).

Add the event start date and click the year to change years or months quickly.

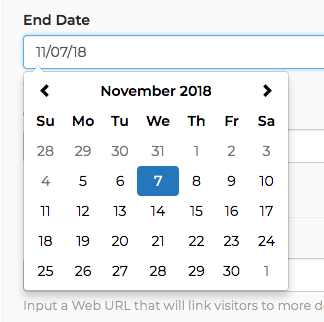
Add the event end date and click the year to change years or months quickly.
Add the cost to attend the event.

Add an external web URL containing details about the event.

Add the name of the venue if applicable.

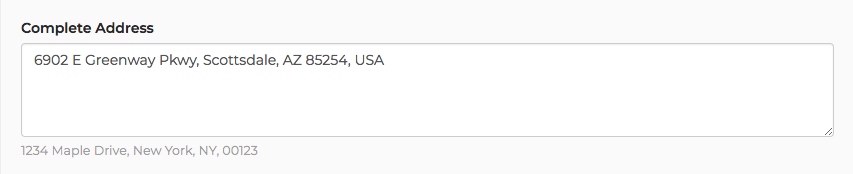
Add the location of the event and hit the "Enter" key to update the map. it will also auto-populate the address into the "Complete Address" field below.
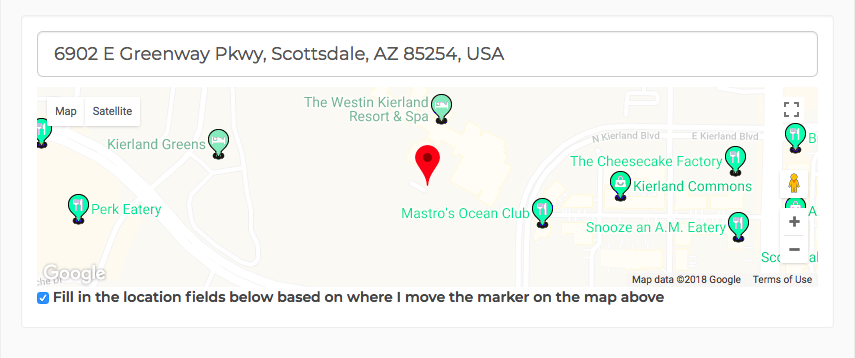
Add address details like the name of the convention center or a suite number.
Add keywords searchable on the site. They’ll appear below every event

Here’s where you add a description of the event. You can add images and links.
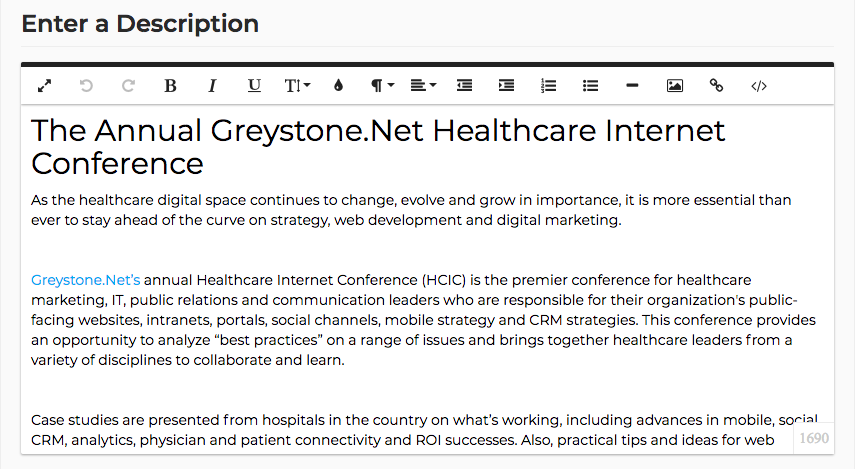
You can also edit in HTML mode to customize the design.

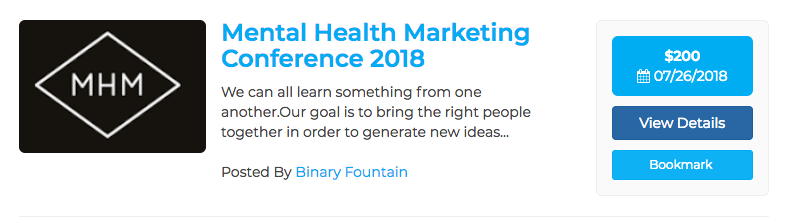
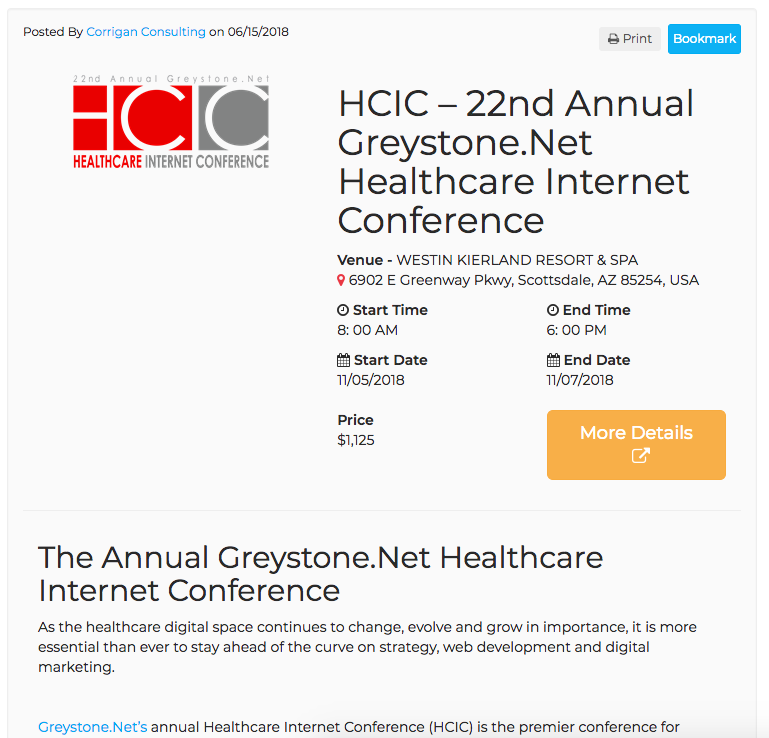
Here’s how events appear in search results. The title, image, first few sentences of the description, location, price, date, and time are visible.

Once you've published the event, here’s how it will display:
Select whether you want the video published on MarTech.Health. You can publish or un-publish a video at any time.

The title will display above the video.

Add the Youtube or Vimeo link.

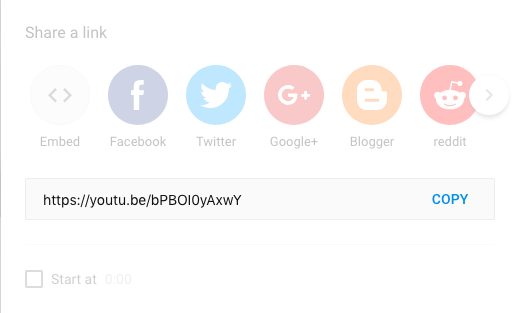
Access the YouTube URL by navigating to the video on YouTube. Copy the URL at the top of your browser or click the "Share" button below the video.
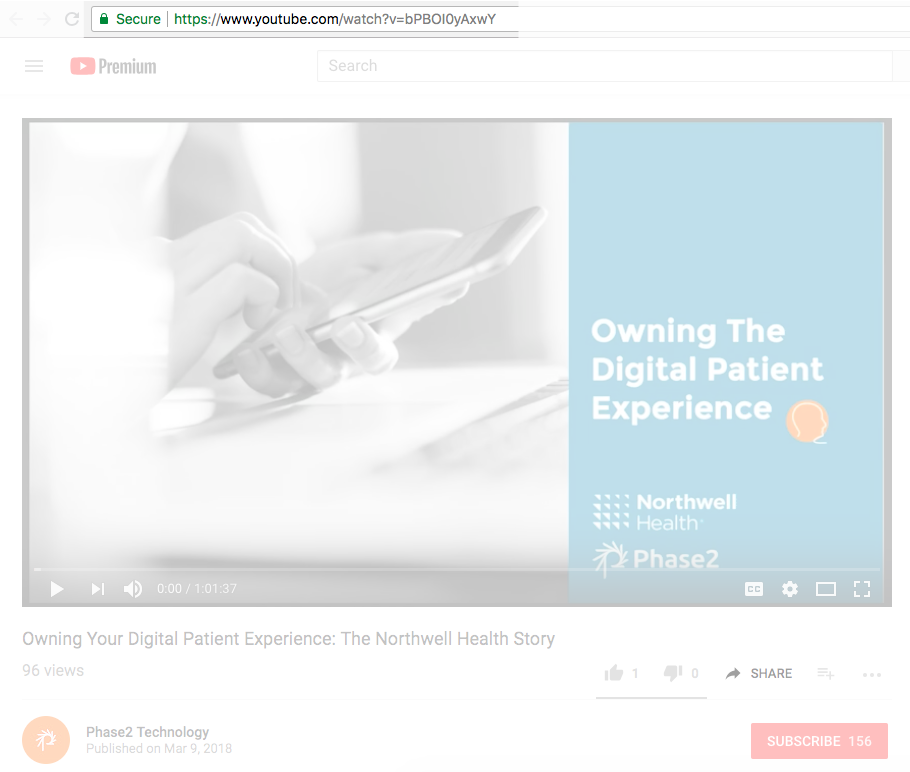
If you clicked on "Share," you’ll see a pop-up. The URL is below the pop-up.
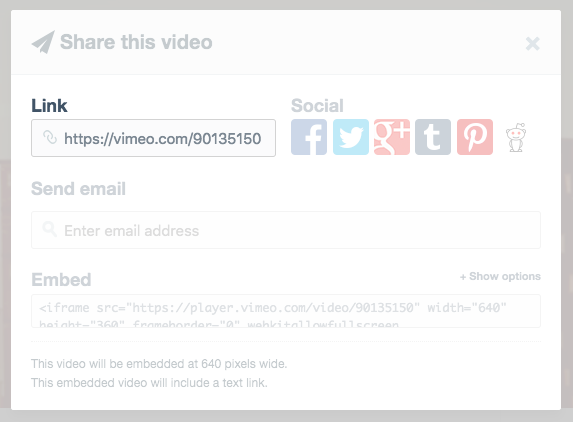
You can access the Vimeo URL by navigating to the video on Vimeo. You can copy the URL at the top of your browser or click the "Share" button below the video.
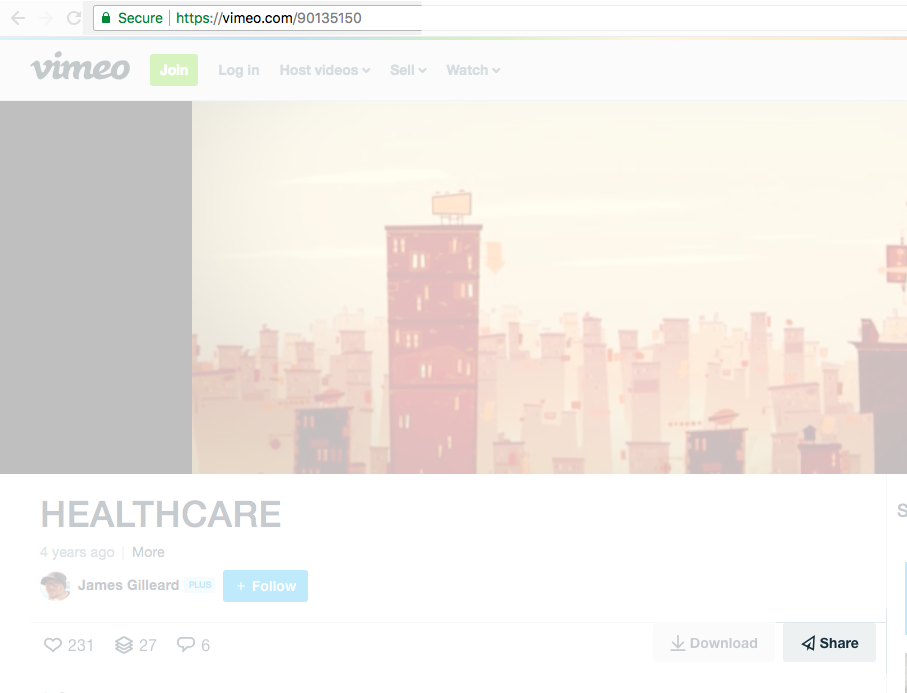
If you click "Share," you’ll see a pop-up. The URL is below the pop-up.
Add keywords to make the video searchable on the site. They’ll appear below every video.

Add the location of the video. Hit the "Enter" key to update the map. The location could be your company headquarters where the video was shot or whatever is applicable.
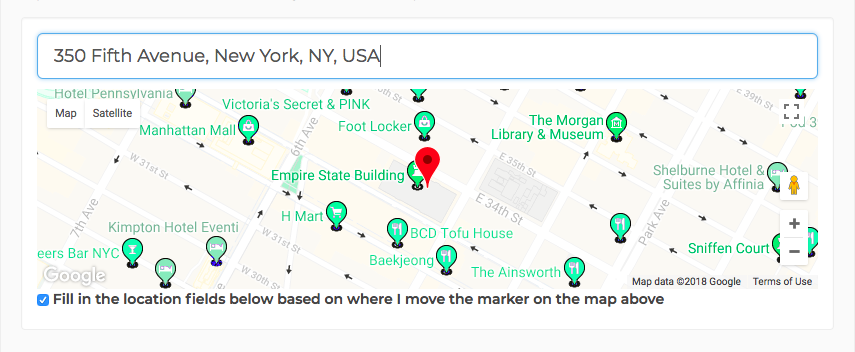
This will also auto-populate the address into the "Complete Address" field below.

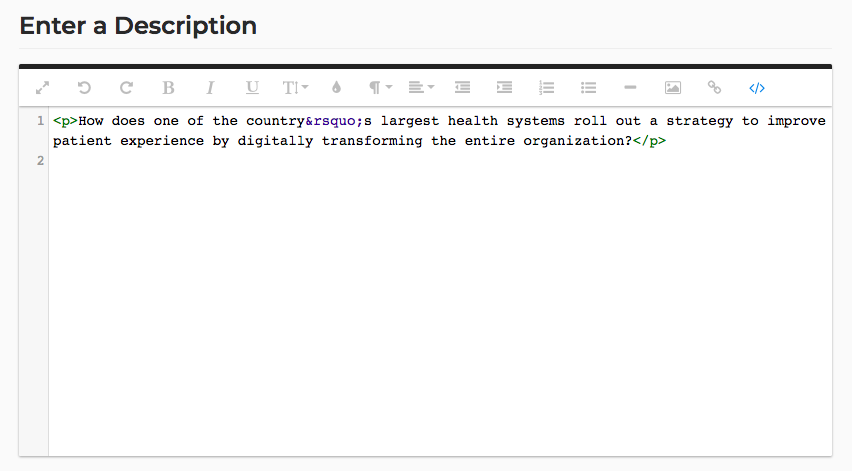
Add a description of the video. You can add images and links. Additional notes for each slide are also common content.
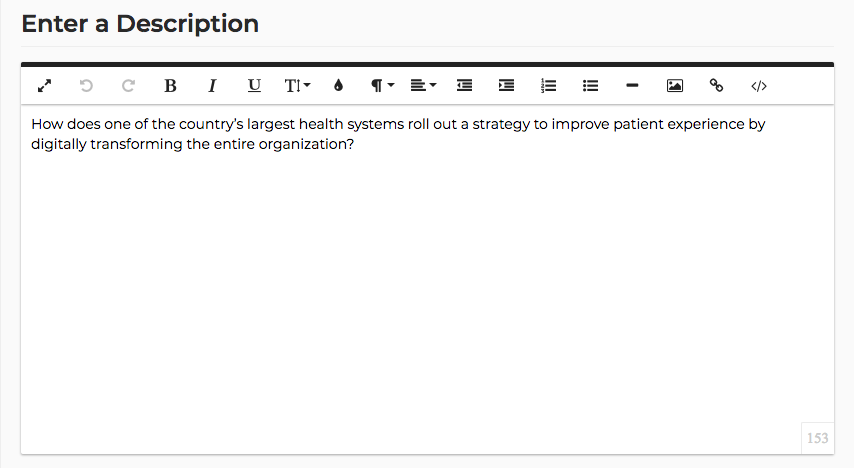
You can also edit in HTML mode to customize the design.
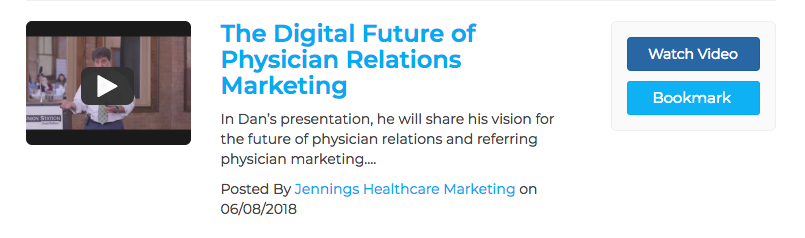
Here’s how videos appear in search results. The title, cover photo, and first few sentences of the description are visible:
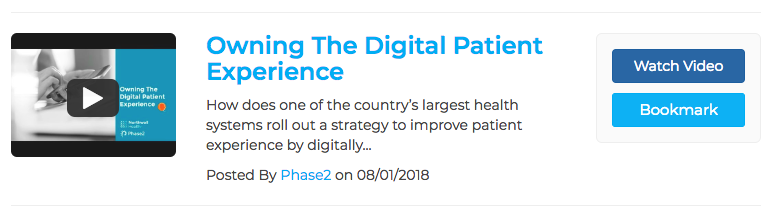
Once you've published the video, here’s how it will display:
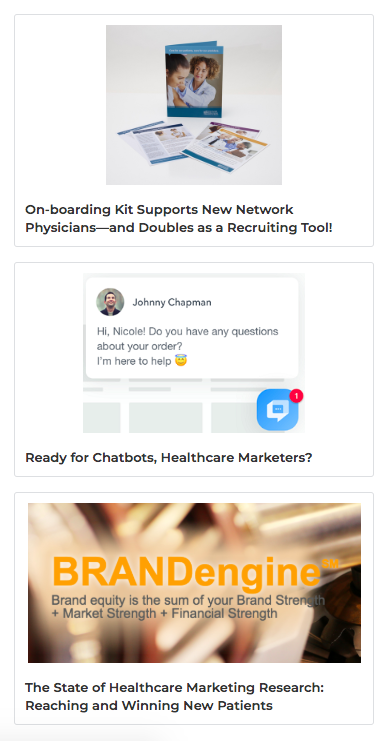
Promotional Posts are a unique way to get more customers to your content. They rotate among all Premium Vendors and will randomly display on the search result pages for Articles, Videos, Presentations, Audio files, and Events.
You can have up to five promotional posts running at a time
Select whether you want the promotional post published on MarTech.Health. You can publish or un-publish a promotional post at any time.

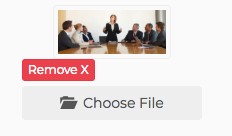
Choose an image to display for the Promotional Post.
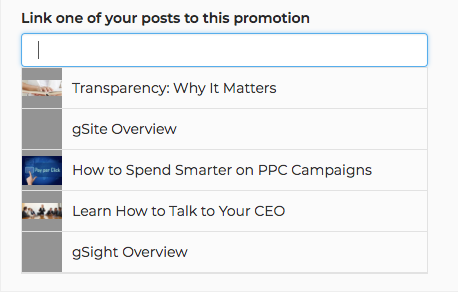
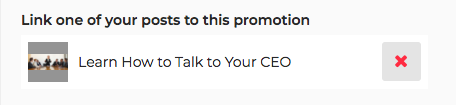
You can pick from any of your published Articles, Videos, Presentations, Audio files, and Events. When a user clicks on the promotional post, they’re taken to that selected content's page.
Add a short description. It will appear below the image.
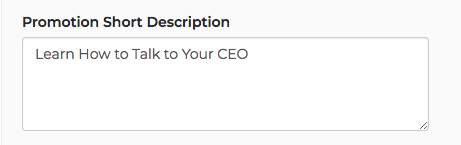
It will randomly display on the search result pages for Articles, Videos, Presentations, Audio files, and Events.
Only active and verified accounts can send messages.
Researchers and Vendors can send you messages. You can initiate conversations with other Vendors, but not Researchers. Once logged in, you can access your messages from two locations
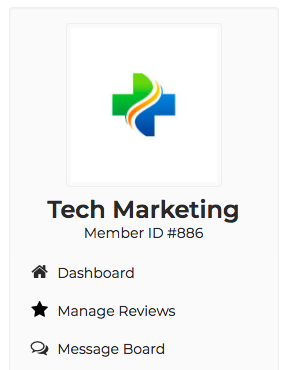
Once you've clicked on your message board, you’ll see all messages from vendors and general users. If a vendor messaged you, you’ll see their logo and name. If a general user messaged you, you’ll see their member ID. General users who are ready to move forward on a project will provide their contact information.
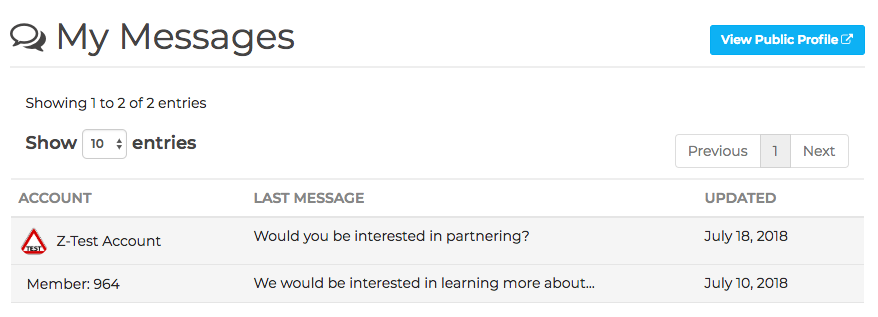
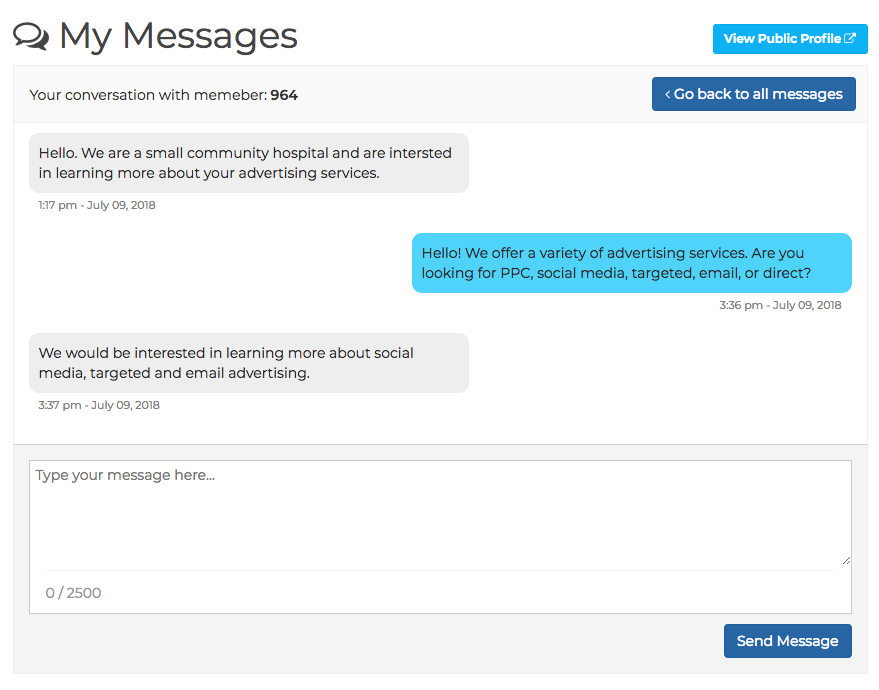
Clicking on one message will open the entire conversation thread. Your messages appear on the right with a blue background. The other person's messages will appear on the left with a light grey background.
Once logged in, you can access your messages from two locations
Once you've clicked on your message board, you’ll see all messages from vendors and general users. If a vendor messaged you, you’ll see their logo and name. If a general user messaged you, you’ll see their member ID. General users who are ready to move forward on a project will provide their contact information.
Clicking on one message will open the entire conversation thread. Your messages appear on the right with a blue background. The other person's messages will appear on the left with a light grey background.
Simply type in the message field and hit enter or "send" to send the message.